
You love strawberries and you want photos that stop the scroll. When you learn How to Plate Strawberry Desserts for Instagram-Worthy Photos, your feed will look cohesive and tempting. This guide shows simple plating steps, smart props, and quick styling tricks you can use right away.
Expect clear materials lists, step-by-step plating, and finishing tips. You’ll get timing, measurements, and troubleshooting so your strawberries always look their best.
What You'll Need for Picture-Perfect Strawberry Desserts
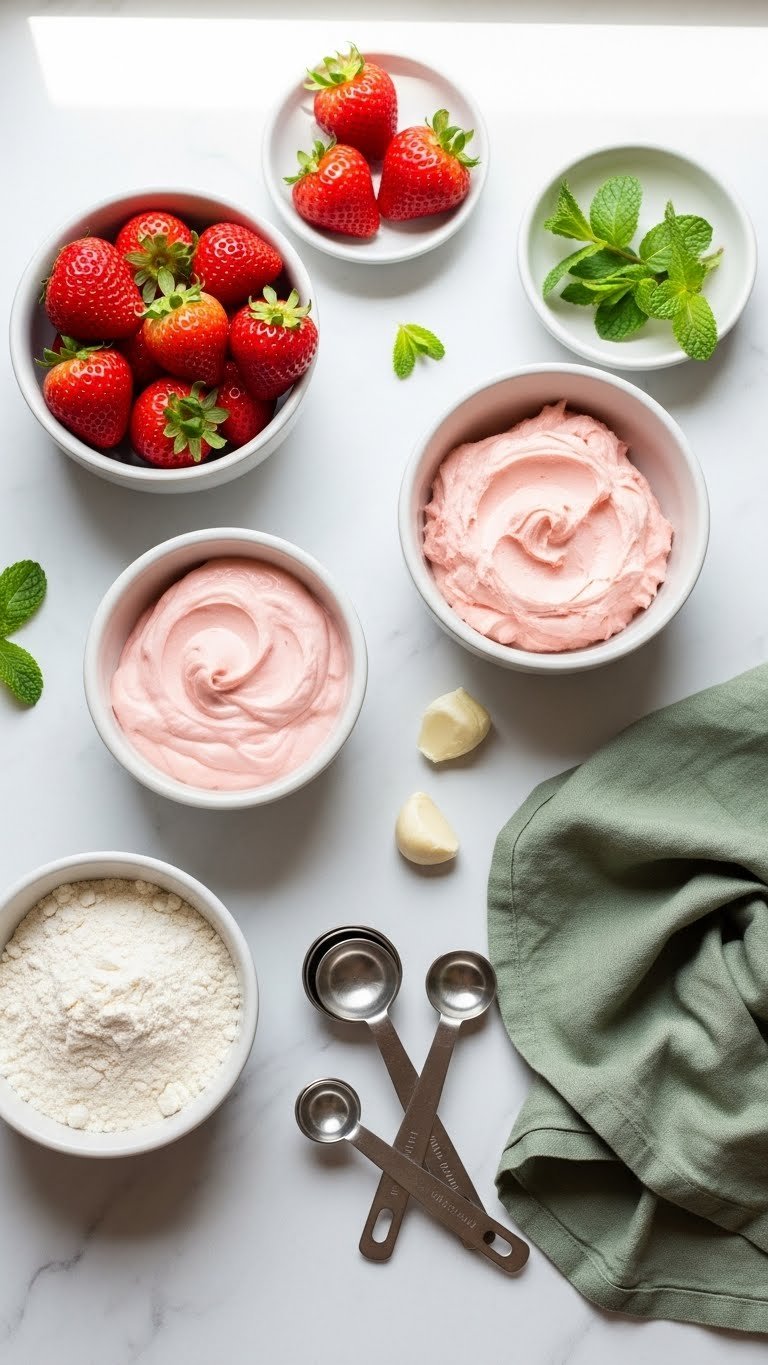
Gather simple tools and a few styling props. Use good lighting and one consistent surface.
- Tools: small offset spatula, paring knife, squeeze bottle, pastry brush.
- Plates & props: white ceramic plate, matte gold fork, neutral linen napkin.
- Ingredients: 1 pint strawberries, 1 tbsp sugar, whipped cream or mascarpone, mint or basil leaves.
- Time: prep in 15–30 minutes.
Tip: pick ripe strawberries with bright red color and green caps. Short stems photograph better.
Preparing Strawberries and Elements

Prep makes plating fast and clean.
- Rinse and dry strawberries on a paper towel for 5 minutes.
- Hull and slice based on dessert: thin slices for tarts, quarters for cakes, and whole berries for garnishes.
- Toss slices with 1 tsp sugar if they aren’t sweet. Let sit 5–10 minutes to macerate.
Quick tip: reserve a few whole berries with stems for focal points. For glossy shine, brush with a thin layer of warmed apricot jam.
Plating Techniques for Instagram-Worthy Composition
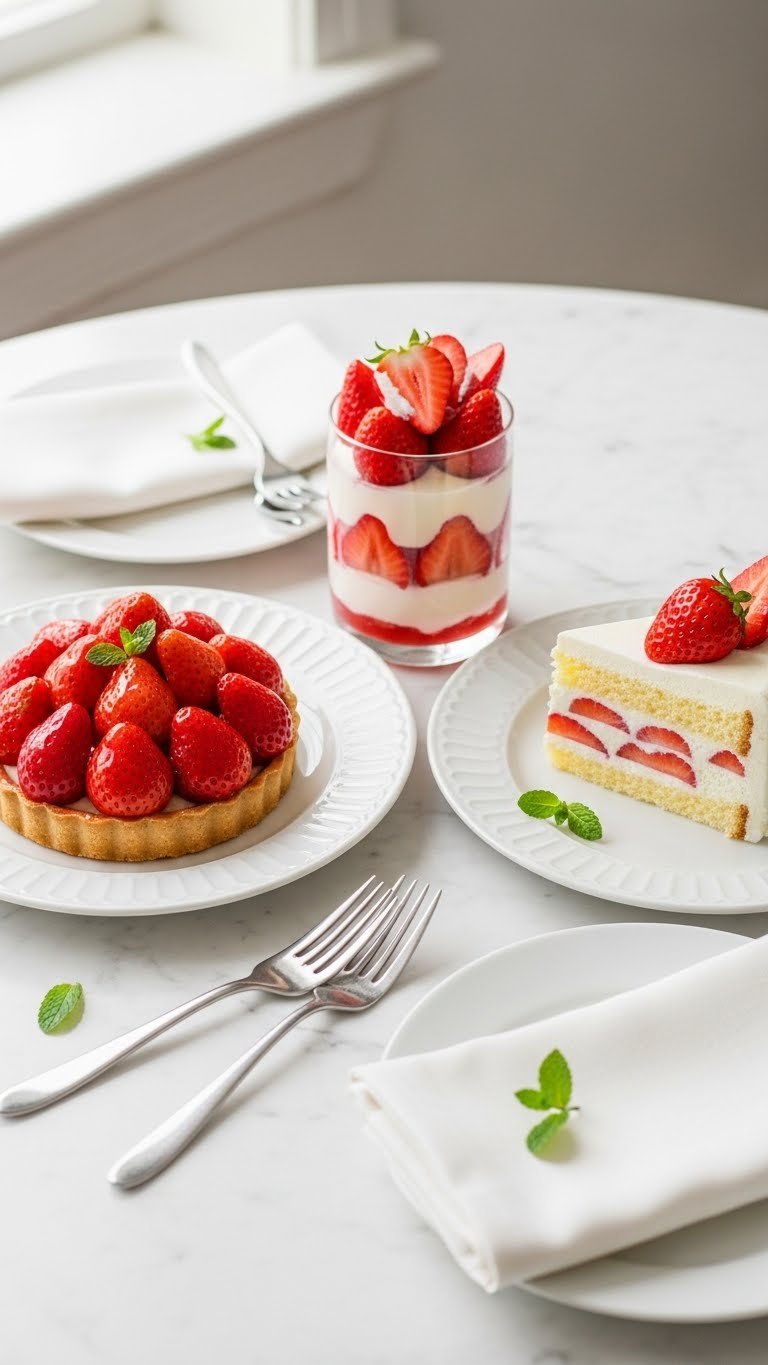
Follow simple composition rules to create photos that pop.
- Rule of thirds: place the focal berry off-center.
- Negative space: leave empty marble to let the plate breathe.
- Height and texture: stack elements or add piped cream for depth.
Step-by-step plating:
- Start with a clean white plate and a dry towel to remove crumbs.
- Position the main dessert slightly off-center.
- Arrange sliced strawberries in a fan or spiral along the edge.
- Add a dollop of whipped cream or a quenelle of mascarpone beside the fruit.
- Finish with 1–2 mint leaves and a light dusting of powdered sugar.
Pro trick: use a squeeze bottle for controlled sauce drizzles. Use fewer props; simplicity reads better on Pinterest.
Styling, Lighting, and Shooting Tips
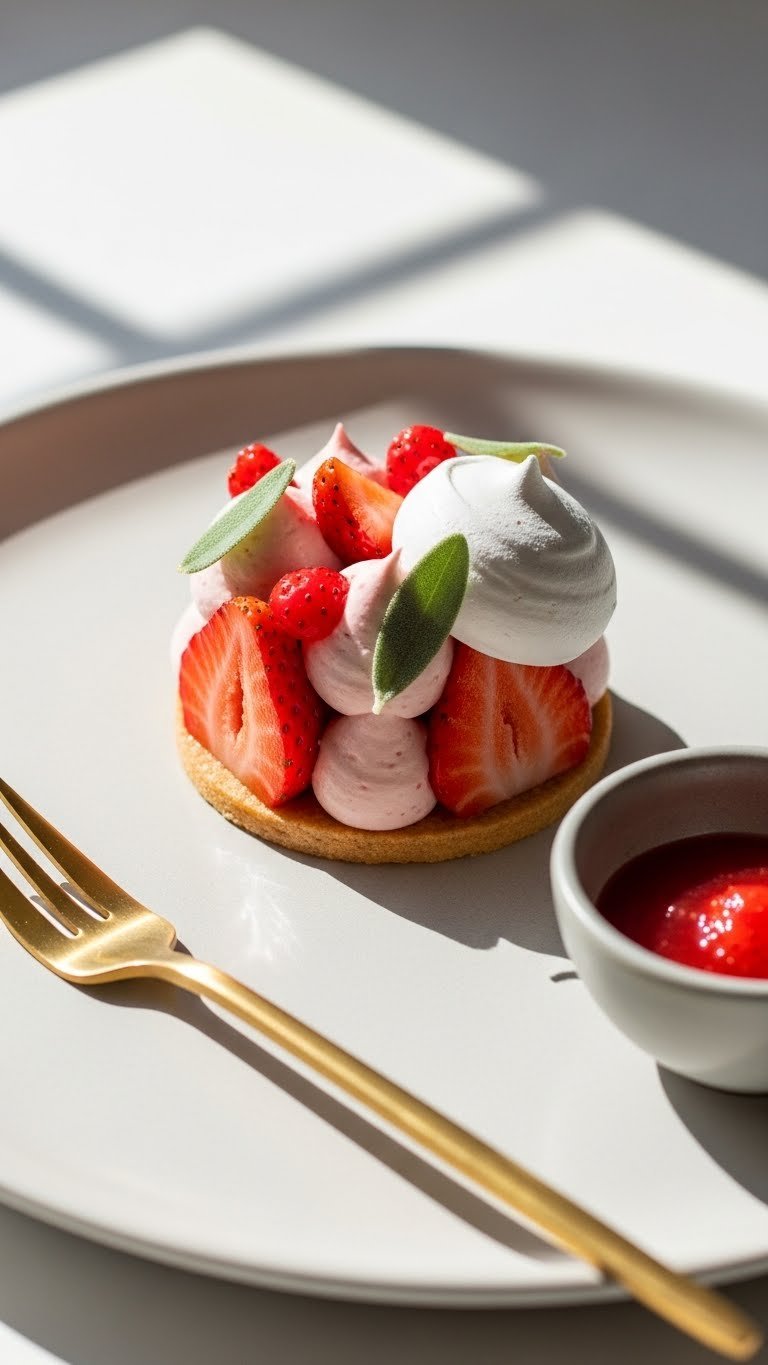
Your styling choices affect shareability.
- Use consistent bright natural window light for soft shadows.
- Keep the white marble surface free of stains.
- Shoot multiple angles, but prioritize the 45-degree shot for depth.
- Use a reflector (white paper) to soften shadows.
Camera settings:
- Use a shallow aperture (f/2.8–f/4) for a soft background.
- Keep ISO low (100–400) for clean images.
- Use a shutter speed that avoids blur; use a tripod if needed.
Common mistakes to avoid:
- Overcrowding the plate.
- Using mismatched props or different surfaces.
- Skipping the final wipe of crumbs and smudges.
Serving and Storage Tips
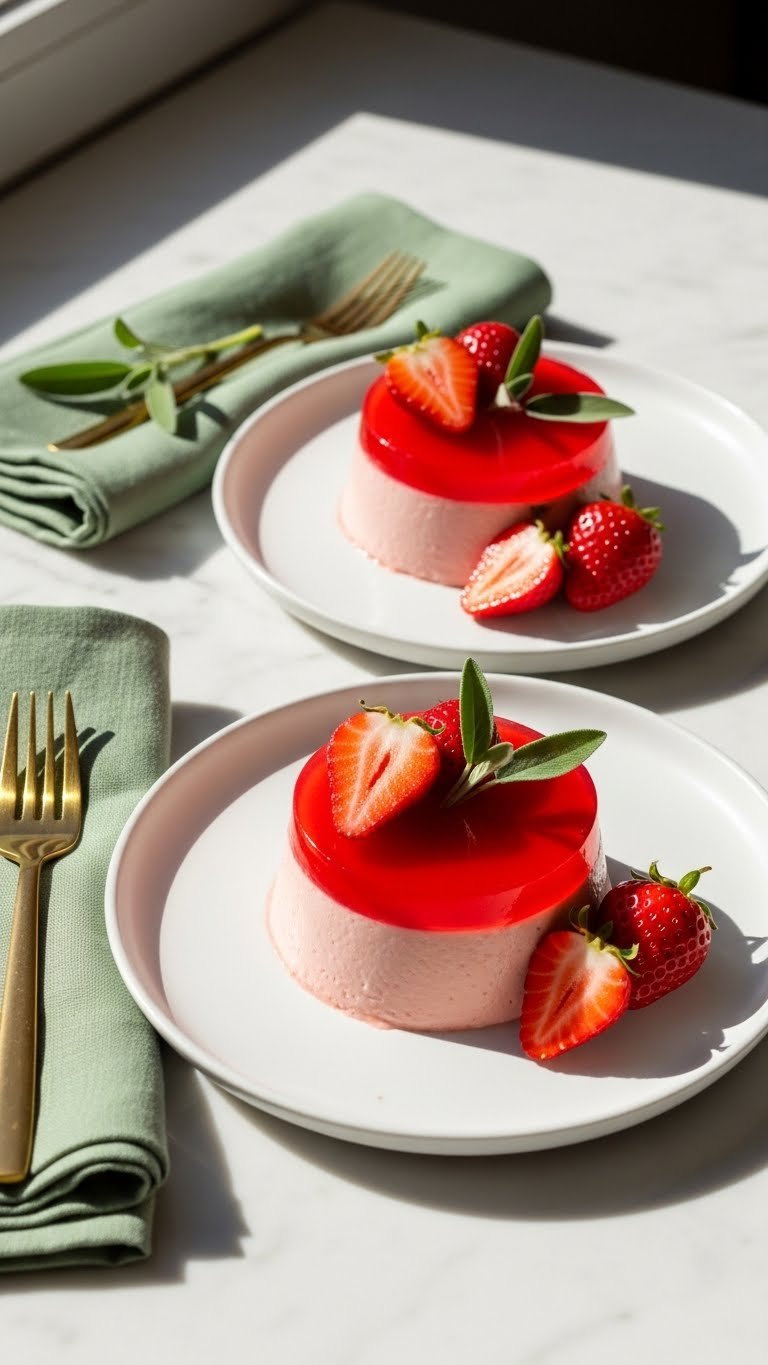
Serve immediately for best texture and color.
- Make ahead: slice strawberries up to 2 hours before serving and keep chilled.
- Store assembled desserts for short periods only; fresh cream softens over time.
- If you need to prepare earlier, keep components separate and assemble before shooting.
Time-saving tip: set up your shot station before plating. That saves minutes and prevents sweating berries.
You now have clear steps for How to Plate Strawberry Desserts for Instagram-Worthy Photos. Pin these ideas and try one layout tonight. Which plating trick will you try first? Pin this guide for your next dessert shoot and share with friends who love strawberries.
Recent Posts
14 Light Spring Strawberry Dessert Recipes That Feel Seasonal
Spring mornings beg for bright, light desserts that match the season. You want strawberry sweets that feel fresh, not heavy, and that celebrate the fruit's short, sweet moment. These 14 Light...
12 Simple Easy Spring Strawberry Recipes That Anyone Can Make
Spring is the season when strawberries smell like sunshine, and your kitchen wants to celebrate. If you’ve got a basket of fresh berries and a craving for simple, fresh flavors, these 12 simple...